
Do you want to add an advanced weather forecast in Elementor with complete customization control and professional design flexibility?
In this blog, I’ll show you how to add a detailed, elegant weather forecast to your WordPress site with Elementor in minutes– no coding required, just ready patterns and easy customization for outstanding results.
What you will get:
- Advanced Weather Data
- 60+ Ready Weather Patterns
- Full Freedom in Customization
Let’s get in.
4 Simple Steps to Add an Elegant Weather Forecast in Elementor
Step 1: Get Location Weather
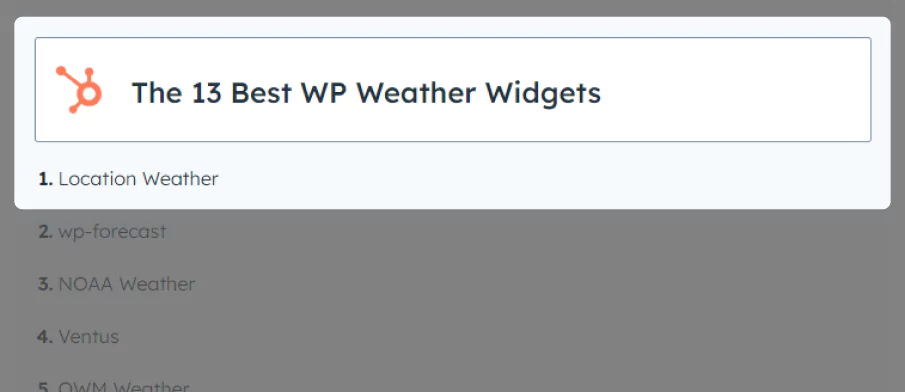
Location Weather is the No. #1 weather forecast solution for WordPress with the highest active installations, reviews, and rating in its category. It has been featured on the world’s top platforms, including WPBeginner, WP Engine, WPMU DEV, Elegant Themes, and HubSpot.
Users love Location Weather for its robust features, easy customizations, and fast support.
Key Features:
- 60+ Ready weather patterns
- Complete customization & design flexibility
- Detailed Forecast up to 16 days & 96 hours
- AQI, Historical weather data, Astronomy data, weather map, etc.
- Weather for a specific location, visitors’ location, or any searched locations.
- Location-based weather terms & switching options
- Auto-changing background based on weather conditions
- Image, video, or custom color backgrounds
- Stunning effects and animations
Let’s Install Location Weather.
Step 2: Get a Weather API
We need a Weather API to display the weather data. Let’s follow the simple steps below to get a free or paid weather API.
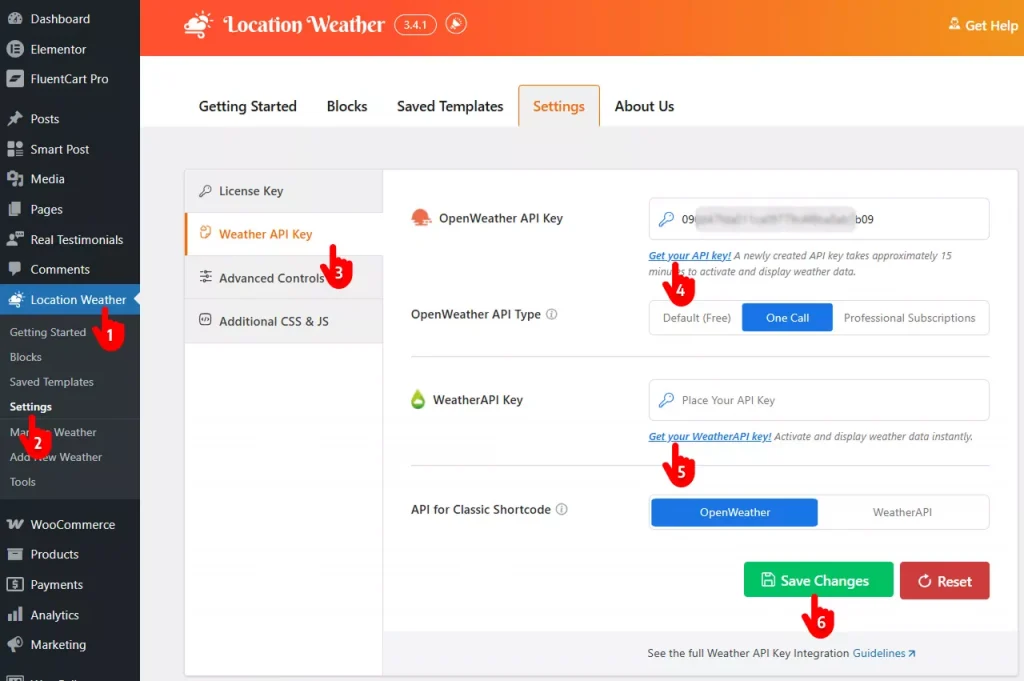
- First, click Location Weather available in your WordPress admin sidebar.
- Click Settings of Location Weather
- Navigate to the Weather API Key.
- Click Get your API key. It will take you to OpenWeather’s signup page. Sign up with your email, create and copy the API, and paste it in the OpenWeather API Key field.
- You can add an API key from the Weather API as well. The process is almost the same.
- Finally, hit the Save Changes button.
Step 3: Add a New Weather Template
Follow the simple steps below to add a Weather Template.
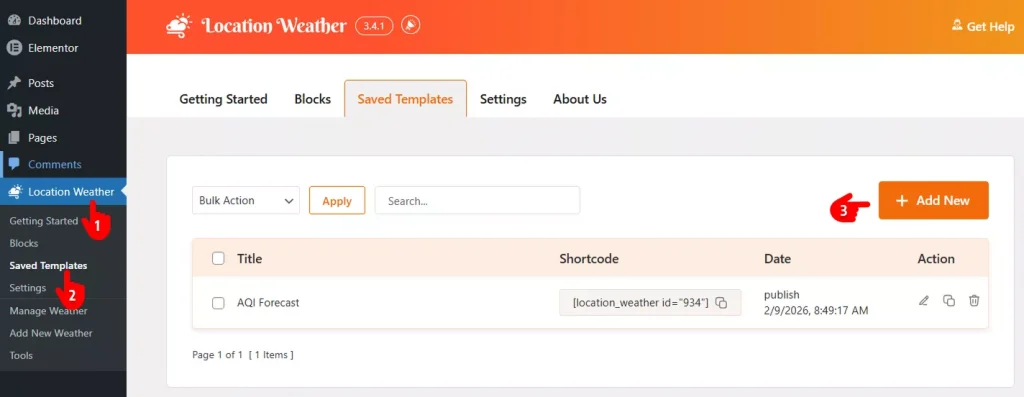
- First, navigate to Location Weather available in your WordPress admin sidebar.
- Click Saved Templates.
- Click Add New.
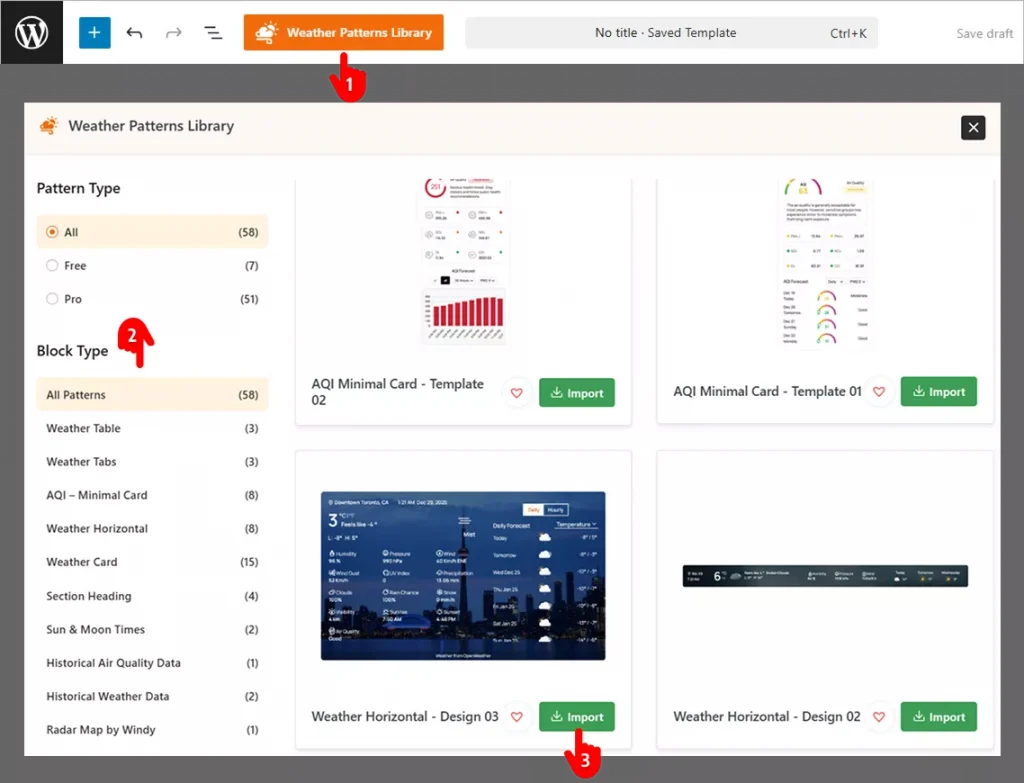
- Click the Weather Pattern Library.
- You can find your desired pattern through the rich list.
- Hit the Import button to import your favorite weather pattern.
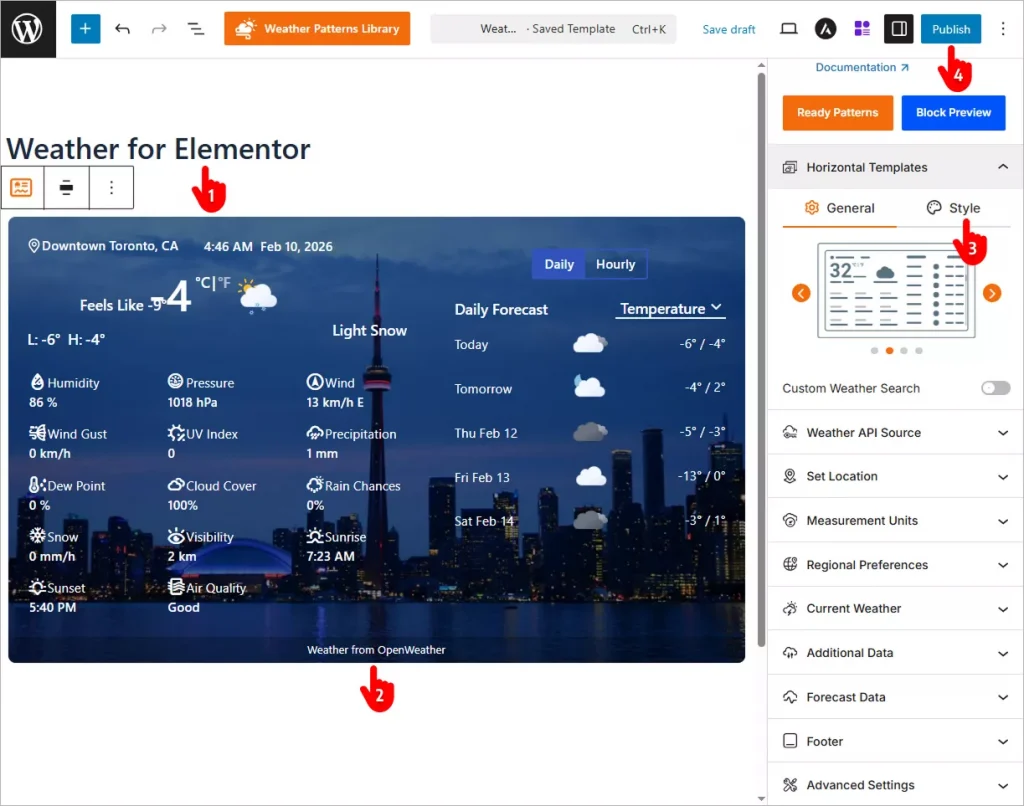
- First, give your weather forecast template a name. I named it Weather for Elementor.
- Click the element you want to customize and find the customization panel in the right sidebar. For example, I clicked the location icon in the top left and changed it to my business location, Dubai, AE.
- You also find a Style tab in many panels to navigate to the customization options. I changed the image by navigating to Horizontal Templates→ Style→ Change Image.
- When your customizations are done, hit the Publish button.
Step 4: Publish Your Weather Template in Elementor
Follow the simple steps below to publish the Weather Template in Elementor.
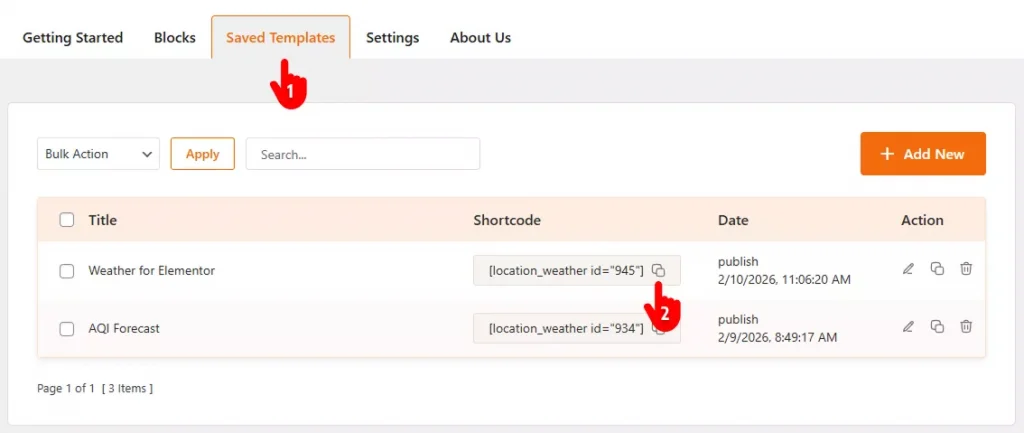
- Get back to the Saved Templates tab.
- Copy the template shortcode you have just created. Go to where you want to publish the weather forecast template in the Elementor editor and paste the shortcode. Update the page and see the changes.
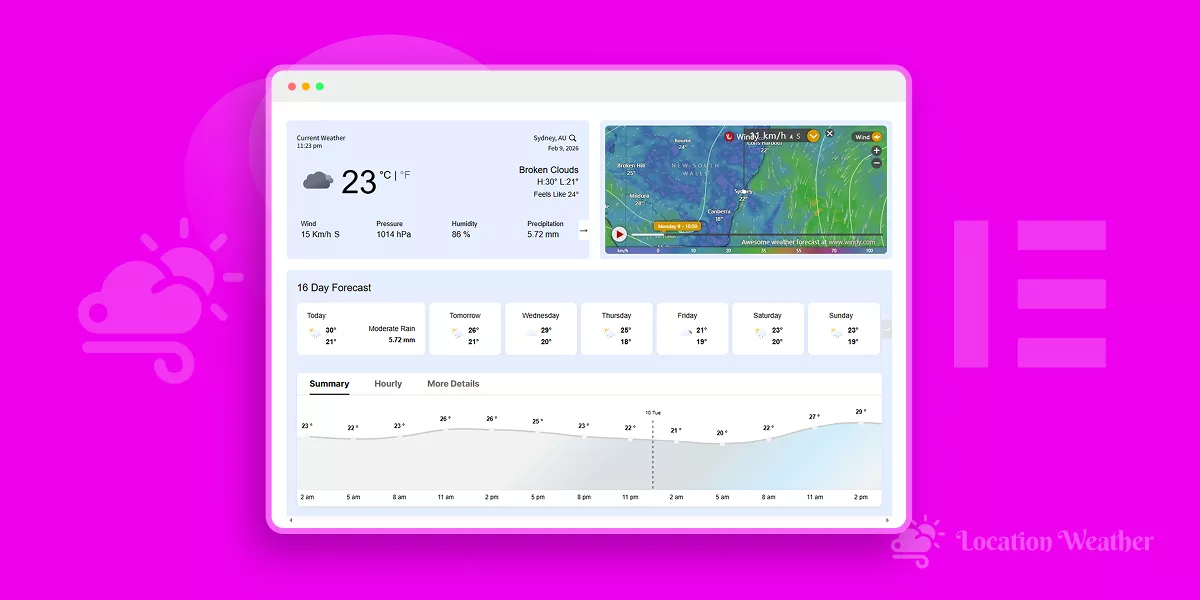
Here is how my weather forecast looks.
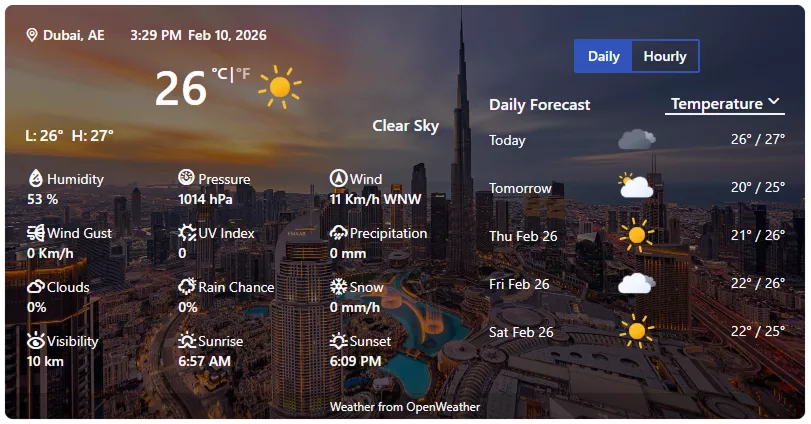
However, you can make your weather forecast far better with your creative power and Location Weather’s robust features.
Therefore, don’t allow your visitors go anywhere else to check the weather before purchasing or booking. Statistics show that only 2% of visitors come back to a website.
Let’s add an advanced weather forecast to your Elementor site now to stop losing customers and boost conversion.

Leave a Reply